As an Amazon Associate, we earn from qualifying purchases. Some links on this site are affiliate links at no extra cost to you. Our recommendations are based on thorough research and editorial judgment.

How To Make Storage Labels From Scrap Materials?
Making storage labels from scrap materials is a fun and eco-friendly project! First, we gather old cardboard, paper bags, or even glass jars. Then, we can cut them into creative shapes using sharp scissors or utility knives. Next, let’s write bold labels, using high-contrast colors for easy visibility. To guarantee they last, we can use waterproof tape or sealants. Finally, we’ll attach them at eye level for quick access. Want to learn some creative design tips?
Key Takeaways
- Gather eco-friendly scrap materials like cardboard, paper bags, and glass jars for creating durable storage labels.
- Use sharp scissors or utility knives to cut materials into desired shapes for labels.
- Write in bold, capital letters and add decorative elements with high-contrast colors for improved visibility.
- Attach labels using peel-and-stick adhesive or clear packing tape for added durability and waterproofing.
- Regularly inspect labels and update or replace damaged ones to maintain organization and clarity.
Gather Your Scrap Materials
You may be interested

Are Fabric Storage Bags More Eco-Friendly?
October 24, 2025

Are Minimalist Designs Best For Sustainable Living?
October 24, 2025
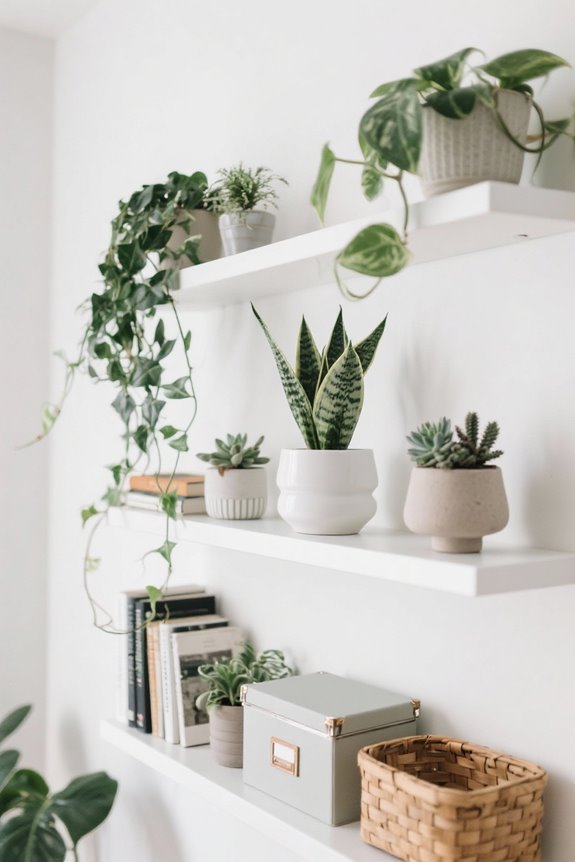
Are Plants A Functional Part Of Home Organization?
October 24, 2025
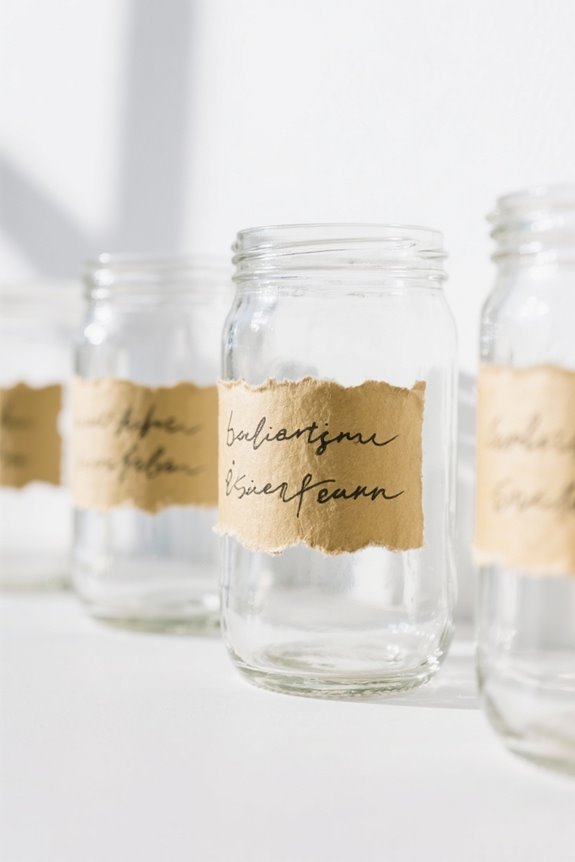
When we think about making storage labels, one of the best resources we have is right under our noses: scrap materials! Let’s start our scrap selection with common sources, like old cardboard boxes, paper bags, and even glass jars. These materials are not just free; they’re eco-friendly too, helping us reduce waste.
When we’re identifying suitable materials, we should consider their texture. Smooth surfaces like plastic work wonders with adhesives and inks, while rough cardboard may struggle. Don’t forget to check if they’re durable enough for outdoor use if needed—labels shouldn’t fade away! And don’t be shy to get creative; your scraps come in all colors and textures, ready to be transformed into functional labels that stand out! Additionally, using eco-friendly materials can contribute to a more sustainable lifestyle.
Cutting and Shaping Techniques
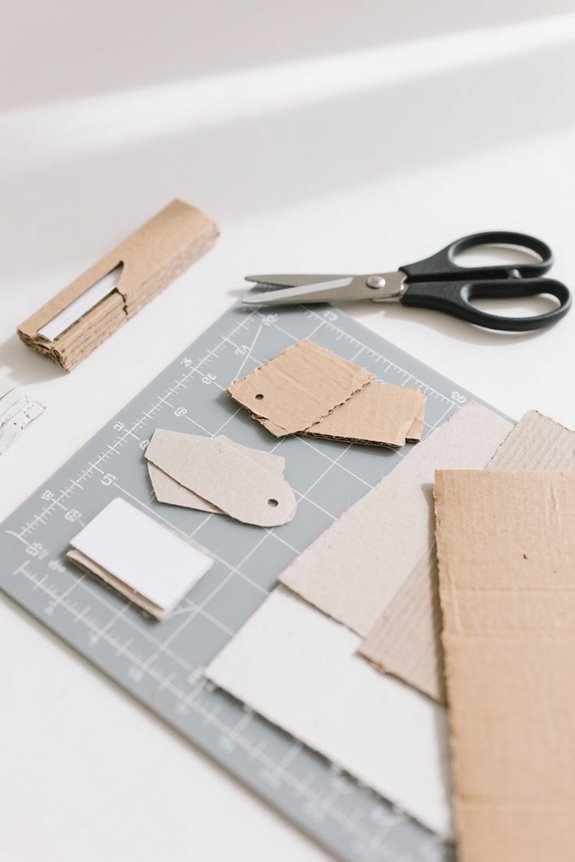
Cutting and shaping your scrap materials for labels can feel like an art project, and it’s easier than you might think! We can utilize various cutting techniques and shaping methods to create effective designs.
Basic Manual Cutting
- Grab sharp scissors for simple shapes or use utility knives for more complex cuts.
- Always keep metal rulers and cutting mats handy for straight edges.
Digital Cutting
– If we’re feeling tech-savvy, digital knife or laser cutting can create intricate designs without needing pricey dies.
Tips for Irregular Materials
– Test cuts on small scraps first. For instance, when cutting fabric, consider its grain direction to prevent odd shapes. Additionally, using high-quality materials like acrylic for label bases can enhance durability and ensure a professional appearance.
With these techniques, we’ll transform our scrap materials into functional, stylish labels in no time!
Recommended Products

SEWING AND QUILTING RULER: Large acrylic ruler for precise measurement, with highlighted seam allowances, easy-to-read measurement lines, and broken grid lines for fabric edge visibility

【SEWING CUTTING MAT】Aneuzs self-healing cutting mat protects your work surface. Compatible with rotary cutters and straight blades, won't hurt the cutter blade and keep the blade sharpness. Ideal for artist, crafters, quilters, engraver and hobbyists
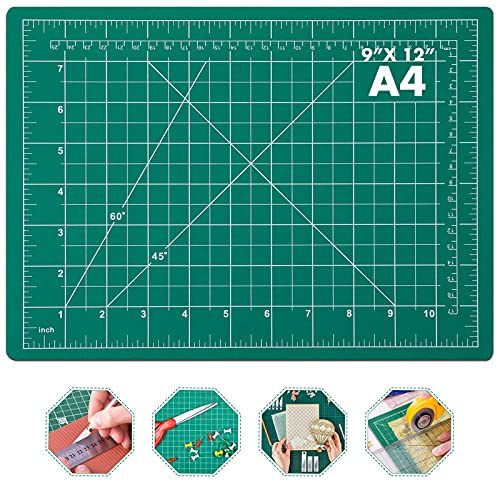
【SEWING CUTTING MAT】Aneuzs self-healing cutting mat protects your work surface. Compatible with rotary cutters and straight blades, won't hurt the cutter blade and keep the blade sharpness. Ideal for artist, crafters, quilters, engraver and hobbyists
Writing and Decorating Labels
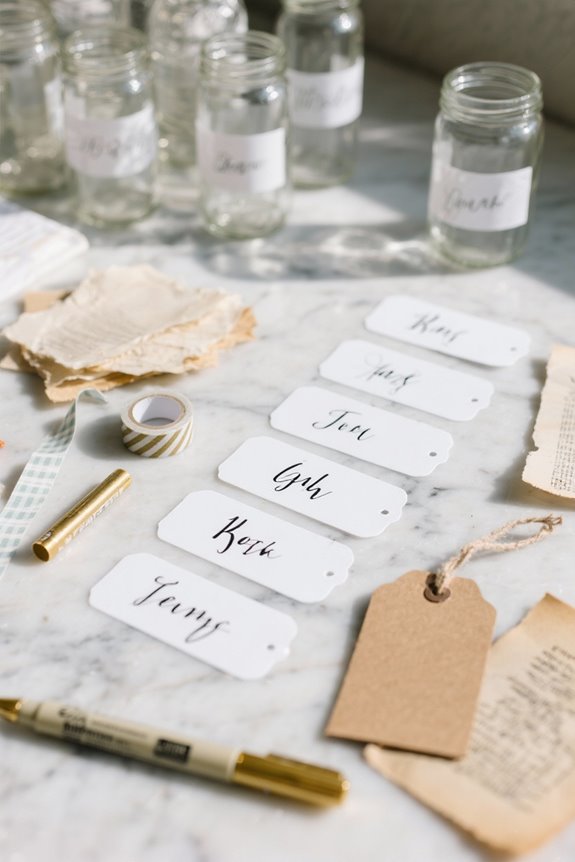
Writing and decorating labels can be an enjoyable and creative process, so let’s plunge into it together! First, we’ll choose our label fonts. Using bold, capital letters enhances readability, while consistent sizes unify our designs. Once we settle on a font, let’s get creative with decorative elements. We might outline our labels with borders or use washi tape for a pop of color. Adding small illustrations or icons helps quickly identify contents.
For visibility, we should opt for high-contrast colors—like black text on a white background. Additionally, using waterproof labels ensures that our creations remain intact even in humid environments. Finally, don’t forget to protect our beautiful creations! A clear sealant or coating guarantees our labels last through time and usage. Who doesn’t want durable, stylish labels? Let’s get started!
Recommended Products

Quality: Our Large Labels For Storage Bins are made from synthetic paper and high-quality adhesive, offering durability and water/Oil/Tear Resistants with No Residue. Use our storage labels without worrying about losing them in your storage bins, containers, or buckets.
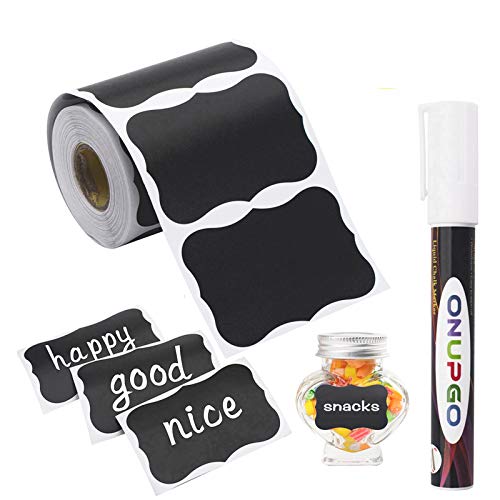
WIDE RANGE OF USE: Totally 180pcs waterproof reusable chalkboard labels works for jars, organizing, labeling pint mason Jar, cookie, canning, jelly jars, spice jars, spray bottle, water or shaker Bottle, wine glasses, coffee or tea tin boxes, canisters, baskets, folders, office supplies. The Chalkboard Sticker labels are decorating and organizing your pantry storage & office, cupboards, garage sales, containers, office, parties, bakeries, coffee shop, craft projects, walls and kids bedrooms.

288 Pantry Labels: Includes 183 preprinted common pantry items (e.g., Pasta, Cereal, Flour, Sugar, Beans, Cookies), 9 blank labels for customization, and 96 expiration date labels. (Jars not included).
Attaching and Displaying Labels
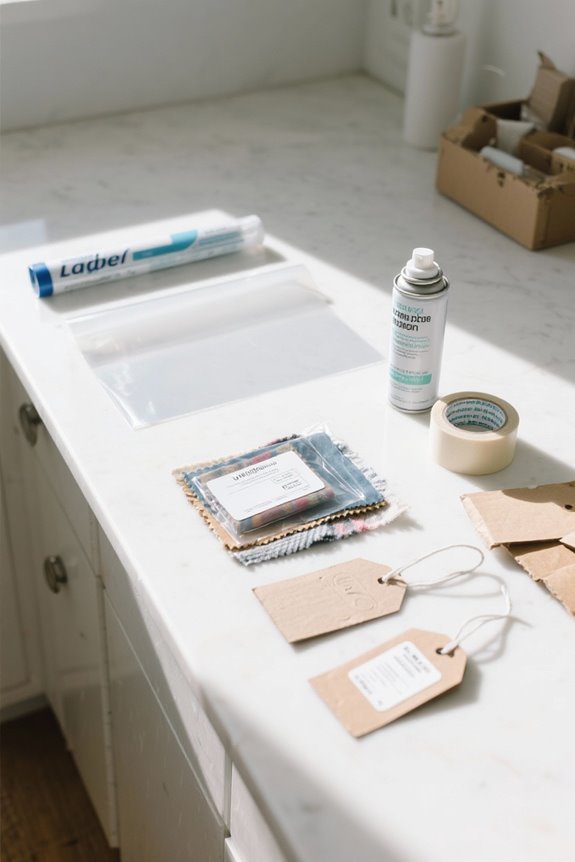
Attaching and displaying labels can be a game-changer in keeping our spaces organized. We can choose various label attachment methods that suit our needs. For smooth surfaces, peel-and-stick adhesive labels work like a charm. If we need extra support, clear packing tape can waterproof paper labels. Let’s not forget about tie techniques! Tying labels with ribbon or string on baskets gives us that rustic touch while being functional.
When it comes to display techniques, clear label holders let our labels shine while protecting them. It’s important to place labels at eye level or on multiple sides for easy viewing. By organizing labels logically, we can make identifying items quick and effortless, helping us maintain our overall organization. Additionally, using eco-friendly materials for labels can enhance the sustainability of our organizing efforts.
Recommended Products

Product Size: 80 Pack clear adhesive index card pockets with top opening for easy index card insertion or removal. For 1" x 3" index cards, the right size can be used in many scenarios.
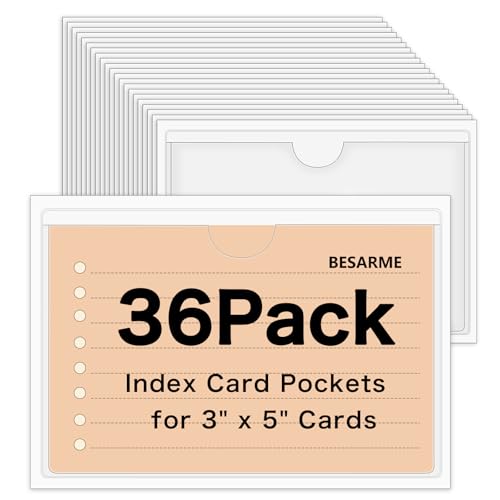
【Size】36 Pack 3.7" x 5.3" clear adhesive index card pockets with top opening for easy index card insertion or removal. 3.7" x 5.3" for 3" x 5" index cards, the right size can be used in many scenarios.

【Package】Package contains 60 pack 1.2" x 4.3" clear label pockets and 60 pieces blank 0.8" x 3.9" labels that can be used together, enough quantity to meet your needs.
Tips for Label Durability and Maintenance
Once we’ve got our labels secured and displayed, ensuring their longevity and durability becomes a top priority. So, how do we maintain label durability? First, let’s control our environment. Keeping storage temperature consistent between 65-75°F (18-24°C) will help prevent adhesive issues. We should also avoid sunlight, which can fade and degrade our hard work.
Regular maintenance practices are essential, too! We need to wipe our labels with a microfiber cloth to keep them clean and legible. Inspection every three to six months will help us catch any damage early. And remember, handling labels with clean hands can prevent oils from ruining adhesion. Additionally, using reusable options can further enhance the longevity of your labels. With these tips, our labels will stay as sharp as our organization skills!
Recommended Products

Label stickers hold strong with removable adhesive designed to stick firmly, but will peel away cleanly and easily when needed

Streamline your labeling tasks with versatile sticker labels that work great as labels for shipping, product labels, packaging labels, storage bin labels, inventory labels, and more

【Quality Material】: Our label stickers are made of premium paper, with strong and reliable adhesion, not easy to fall off. Matte surface are great for writing, not easy to fade
Cost-Effective and Sustainable Practices
When we think about making storage labels, being cost-effective and sustainable doesn’t have to feel overwhelming. We can easily embrace eco-friendly practices while saving money. For instance, leftover wood or paper from previous projects makes great label bases. Let’s consider using vinyl scraps to cut letters, giving those materials a second life. Additionally, utilizing plastic drawer organizers can enhance your storage solutions while keeping everything neat and accessible.
Here are some cost-saving strategies:
- Use tacky glue for attaching labels, allowing for easy replacement.
- Repurpose clothespins or jute twine as fasteners instead of buying new ones.
- Create temporary labels with washi tape or leftover cardboard, making them fun and easy to update.
Creative Ideas for Label Design
Getting creative with label design can be both fun and functional. We can explore color psychology, using colors to create categories that make finding things a breeze. For example, bright red can signal urgency for frequently accessed items, while soft blues might suit seasonal decor.
When we choose our font combinations, let’s keep clarity in mind—simple sans-serif fonts are great for legibility. Mixing sizes can emphasize important details. How about adding a little flair with decorative fonts for specific categories?
Incorporating graphics or simple icons can also spice things up, helping convey meaning fast. We can even play with label shapes for extra creativity! Additionally, using materials like natural seagrass or water hyacinth for label backgrounds can enhance the aesthetic appeal of your storage solutions. Let’s make our storage both pretty and practical!
Transforming Unusual Scrap Materials
Transforming unusual scrap materials into practical storage labels can seem challenging, but it’s really just about letting your creativity flow. We can use unique materials like fabric or vinyl scraps to make labels that stand out. By applying heat-activated stabilizers on fabric, we prevent fraying and can letter or decorate using iron-on vinyl or embroidery. For a polished look, vinyl scraps from our craft machines are perfect for cutting label shapes.
Paper scraps serve well for temporary or decorative labels when cut into fun shapes, too. And don’t forget black contact paper! We can create reusable labels with liquid chalk markers for things we might change often. With these unusual textures, our storage solutions will look fantastic and efficient! Additionally, using microfiber pads ensures that our labels remain clean and free from dust and grime, enhancing their longevity.
Recommended Products

INCLUDES - 1 roll of Cricut Value Iron-On Heat Transfer Vinyl - 12 in x 5 ft (30.5 cm x 1.5 m)

Long-lasting & Machine Washable: Made from high-quality material which is a strong stretchy, adhere to the fabric seamlessly and has held up well in the wash without fading, warping and cracking.

Eco-friendly & Premium Matte PU: Roll of approximately 12" x 12 Feet. Compared to other HTV made from PVC, our PU HTV roll is odorless and CPSIA Certified eco-friendly. Breathable & stretchable material allows you to custom design t-shirts and washes them without compromising their integrity. However, the HTV made from PVC is glossy, smelly, and does not have the advantages we mentioned above.
Organizing Your Storage Spaces
Organizing our storage spaces can feel like an overwhelming task, but it doesn’t have to be! By using smart decluttering strategies, we can enhance storage effectiveness and make the most of our space. Let’s start by efficiently categorizing our items. For example, group seasonal items, tools, and paperwork together, making them easier to find.
Next, we should design our labels for clear visibility. High-contrast colors and large fonts help us quickly identify what’s inside. It’s also essential to place labels at eye level or on container lids for maximum utility. Additionally, consider using transparent drawer organizers to improve visibility and access to your stored items.
Lastly, remember to regularly check in on our storage. A little maintenance goes a long way in keeping our spaces tidy and functional. Who knew organizing could be this satisfying?
Maintaining and Updating Your Labels
Maintaining and updating our storage labels is just as important as the initial organizing process we undertook. Regular label inspection helps us spot wear, damage, or fading—things that affect readability. We should plan to check our labels every 3 to 6 months, ensuring everything’s in tip-top shape. When we find an unreadable label, prompt label replacement is key to keeping our inventory accurate.
Let’s not forget the environment where we store our labels. Keeping them in a cool, dry place helps preserve their quality. Additionally, when inventory changes, we need to update the labels. Standardized templates make this task easier and help us stay consistent. Remember, a little attention to detail now saves big headaches later! Incorporating BPA-free materials in your storage solutions can also enhance the longevity of your labels and containers.
Frequently Asked Questions
What Types of Containers Are Best for Label Application?
We’ve found that adhesive labels work best on smooth plastic bins, while magnetic labels suit metal containers. For cardboard boxes, peel-and-stick options are ideal, allowing us to choose labels based on container shapes and materials.
Can I Use Digital Design Software for Labels?
Yes, we can definitely use digital design software for labels! With various label templates available, it’s easy to create professional-looking designs quickly, enhancing both accessibility and customization to meet our specific needs.
How Do I Remove Old Labels Without Damage?
To remove old labels without damage, we’ll assess the label adhesives and employ gentle removal techniques like soaking, heating, or using specialized solvents, always prioritizing patience to guarantee we protect the underlying material.
Are There Any Safety Precautions When Using Craft Tools?
Yes, there are essential safety precautions. We should always wear safety gear and practice proper tool handling. This way, we minimize risks like injury or inhalation while crafting, ensuring a safe and enjoyable experience.
What Are Some Storage Solutions for Extra Scrap Materials?
We can improve scrap organization by using repurposed materials like old boxes, baskets, or containers. Mobile carts and clear bins keep everything accessible, while creatively adorned storage enhances our workspace’s aesthetic and functionality.


