As an Amazon Associate, we earn from qualifying purchases. Some links on this site are affiliate links at no extra cost to you. Our recommendations are based on thorough research and editorial judgment.

How To Install Closet Systems Without Professional Help?
Installing closet systems without professional help is totally doable! First, let’s measure your space and consider what you need to store. We’ll cut our closet components carefully, using painter’s tape to mark cut lines—no chipping here! Then we’ll securely mount everything, ensuring it’s level and stable with wall anchors. Don’t forget safety gear, like gloves and goggles. Once we have our rods and shelves set up, our closet will look fantastic. Ready to learn some handy tips?
Key Takeaways
- Measure your closet space accurately, allowing for any unevenness to ensure a proper fit of all components.
- Use painter’s tape for clean cutting lines and fine-toothed saw blades to avoid chipping during assembly.
- Confirm wall stud locations with a stud finder for secure installation of brackets and components.
- Choose modular systems and adjustable shelves to customize your layout according to your storage needs.
- Wear safety gear and maintain a clean workspace to ensure a safe installation process.
Planning and Preparing for Installation
When we’re ready to tackle our closet installation, planning and preparation are essential first steps. First, we need to start measuring properly to guarantee everything fits just right. We should check the width, depth, and height at different points to account for any unevenness. Don’t forget to assess our storage needs! We can inventory current hanging garments and folded items to determine how many shelves or drawers we require. For instance, if we have 100 hanging items, we’ll need about 100 inches of rod space, plus a bit extra for future growth. Taking time on these steps now will save us headaches later when we’re trying to fit everything in. After all, nobody wants a closet that just doesn’t work! Additionally, understanding the storage capacity of closet organizers can help us make informed decisions about the number of shelves and rods we need.
Cutting and Assembling Closet Components

Cutting and assembling closet components can feel a bit overwhelming, but don’t worry—we’re here to guide you through each step.
First, let’s talk about cutting techniques. We’ll measure both the front and back of shelving pieces to guarantee accuracy. Using painter’s tape helps prevent chipping as we mark our cut lines. For cutting, fine-toothed saw blades work best for wood and laminate, while hacksaws are our go-to for metal rails.
Now, onto assembly tips! Loosely fit shelves between vertical panels, using connector dowels, and secure them with cam fittings. Remember to adjust vertical panels for levelness before tightening those connectors. It’s like building a puzzle, so let’s keep our pieces aligned! Remember: measure twice, cut once! Additionally, consider using slim velvet hangers to maximize your closet space while keeping your garments organized and wrinkle-free.
Wall Mounting and Secure Attachment Techniques
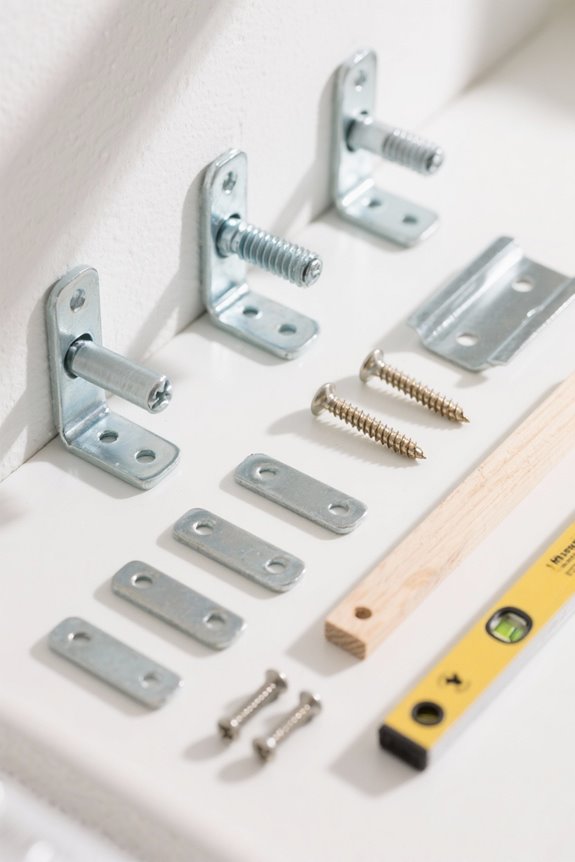
With our closet components assembled and ready to go, it’s time for the exciting part: wall mounting. First, we need to confirm proper stud detection using a stud finder. This is essential because anchoring our system to the studs provides stability. Next, let’s position the bottom cleat and confirm it’s level before drilling pilot holes. We’ll use heavy-duty wall anchors and screws to firmly attach everything, allowing us to support various weight capacities safely. Additionally, consider using premium materials for enhanced durability when installing your closet system. Now, let’s double-check that all components are still level. Remember, an unlevel system can lead to instability—nobody wants that disaster! By following these steps, we’ll have a sturdy, well-mounted closet ready for all our storage needs. Let’s do this!
Installing Shelves, Rods, and Storage Accessories

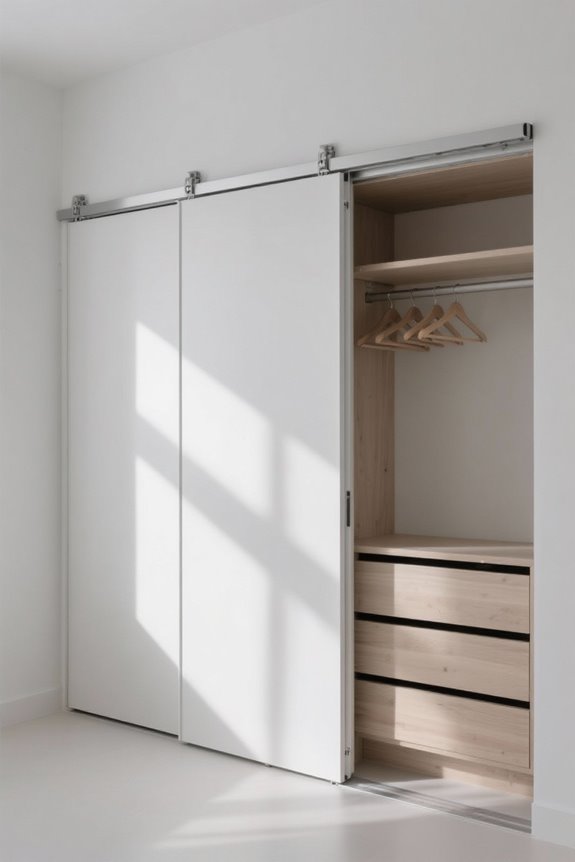
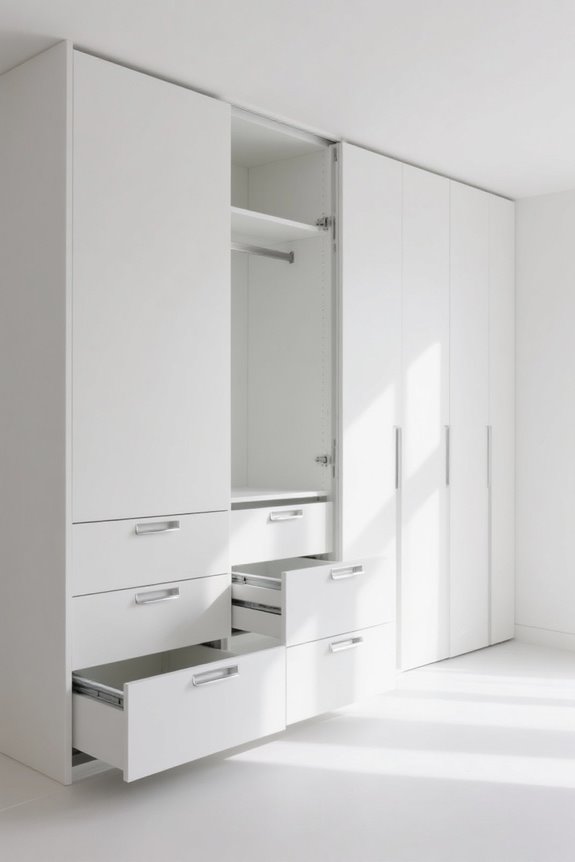
Installing shelves, rods, and storage accessories is like piecing together a puzzle that not only maximizes our closet space but also makes it fun to organize. We’ll start by measuring our closet space accurately. Next, let’s choose shelf types—consider adjustable shelves for flexibility. When placing shelves, think about the height needed for items like folded clothes or baskets.
After that, we’ll customize our rod systems. Installing rods at different heights helps us hang everything from long dresses to short shirts. Additionally, incorporating modular solutions allows for enhanced layout customization based on our unique storage needs. Finally, let’s incorporate storage accessories like cubbies and bins. These organizing strategies not only keep things tidy but also reveal where everything is—definitely a win in our book! Are we ready to get started?
Ensuring Safety and Stability During Installation
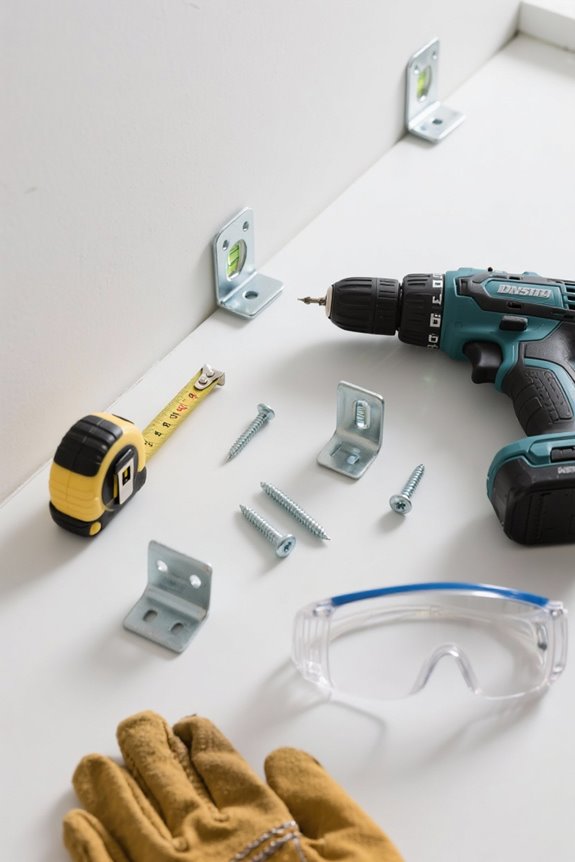
Ensuring safety and stability during installation is essential, especially if we want our closet system to last. First, we should always wear safety equipment like gloves and goggles. Not only does this protect us, but it keeps everything safe while we work.
Next, we need to find and mark the studs, using a stud finder, so we can attach brackets securely. Proper load distribution is vital; we should space wall brackets 32 to 48 inches apart to avoid sagging. Additionally, safety features such as anti-tip devices should be considered to enhance the overall stability of the system.
Checking for level and plumb alignment is key too—nobody wants crooked shelves! Finally, let’s keep our workspace clean and clear of tripping hazards. By following these steps, we can create a safe and stable closet system we’ll love!
Frequently Asked Questions
What Types of Closet Systems Are Available on the Market?
There’re various closet systems available, including custom closet options that suit our needs and shelving units for efficiency. Let’s explore closet organization tips to maximize every space and create a stylish, functional storage solution together!
How Do I Choose the Right Materials for My Closet System?
Choosing materials for our closet system’s durability and design aesthetics is essential. Ironically, that cheap laminate may seem tempting, but it often collapses under pressure—let’s prioritize quality wood or robust melamine for lasting style and strength.
What Tools Are Essential for a Closet Installation?
For closet installation, we’ll need a drill, measuring tape, level, and saws, ensuring we follow installation safety precautions. Using closet organization tips, we’ll enhance efficiency and achieve a tidy, professional-looking result together.
Can I Install a Closet System in a Rented Apartment?
Yes, we can install a closet system in a rented apartment, but we must check our rental agreements. Considering temporary solutions like freestanding units or removable hooks helps us avoid damaging walls and protects our security deposit.
How Long Does the Installation Process Typically Take?
When it comes to the installation timeline, we can finish small closets in just a few hours. To save time, let’s use some time-saving tips, like pre-assembling parts and planning our layout carefully.